
Indiapost mail outlook configuration is very essential as it solves the inbox is full problem in webmail. If you configure your Indiapost email with outlook, you will not need to delete the emails regularly.
To configure your Indiapost email with outlook, you will need


To configure your Indiapost email with outlook, you will need
- Internet Access or Intranet Access.
- Availability of Microsoft Outlook for accessing emails through client software.
- Microsoft Outlook Client 2007 and Above.
- At first, click on the Start button and search for "Mail".
- After that Click on the Mail icon displayed in the search.
- In the new window, click on E-mail Accounts button. This will open a new window which shows the available emails accounts, if any.
- If no email accounts are available, which will be the case, as we trying to add an email account to outlook for the first time, click on the New button . This will again open a new window.
- In the new window, Choose Manual Setup or additional server types option. Then click on the Next Button as shown in the below image.
- Choose the Internet E-mail option by clicking on it and the click on the Next Button.
- Firstly, in the Your Name field you can enter your name something like SPM Begumpet SO
- Secondly, in the E-mail Address field you have to enter your office email id, which can be something like begumpetso@indiapost.gov.in
- The account type should be POP3 only.
- In the Incoming mail server field enter outlook.indiapost.gov.in
- After that, in the Outgoing mail server enter outlook.indiapost.gov.in
- After that, in the User name field enter your email id begumpetso@indiapost.gov.in
- After that in the Password field please enter your password.
- It will be useful if you click on the Remember Password option, so that you need not enter password every time you want to use outlook.
- After that, click on More settings... button on the right side.You will be taken to a new window again.
- In the new window, click on outgoing server tab and click (check) the My outgoing server require authentication option.

- After that, we have to click on Advanced tab. In this tab enter Incoming server as 995. Check (click) on This server require encrypted connection, and enter the Outgoing server as 465.
- Let the type of encrypted connection be Auto.
- Check all the fields under delivery and choose 14 days
- Now Click on OK button. On clicking the OK button you will be taken back to previous window.

- In this window click on Test Account Settings button.

- After that, If certificate message comes, Click on YES.

- In the Test Account Settings we should get the status of both the log on and send test email as completed. It means the configuration is properly done. Now you can click on the close button.

- Then in the next screen, Click on Next button.

- Click on Finish and that's it.

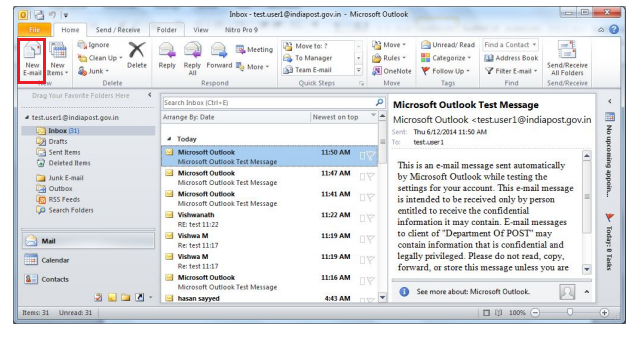
- To send email - click on New E-mail.
Lets conclude by downloading all the email first. To download all the email, go to Send/Receive tab from the top menu and click on Send/Receive All.
In conclusion, this is how you do Indiapost mail outlook configuration. Hope it was useful to you.
You may also be interested in - Solution for all lights blinking in TVS Speed 40 Plus Passbook printer.


